
How To Change Name Servers In HostGator 2021
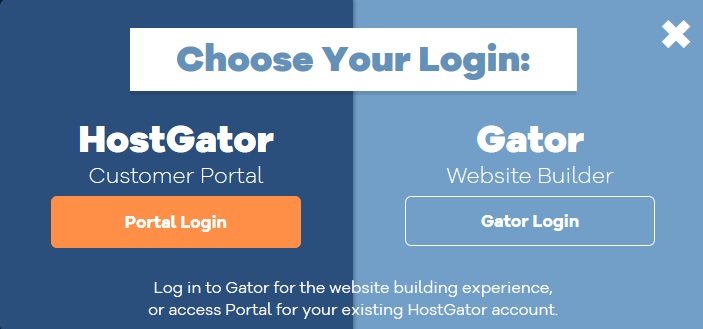
To change your Name Server in Hostgator, you must log in to Hostgator Customer Portal. Enter your email address and Password to continue changing the Name Server in HostGator.
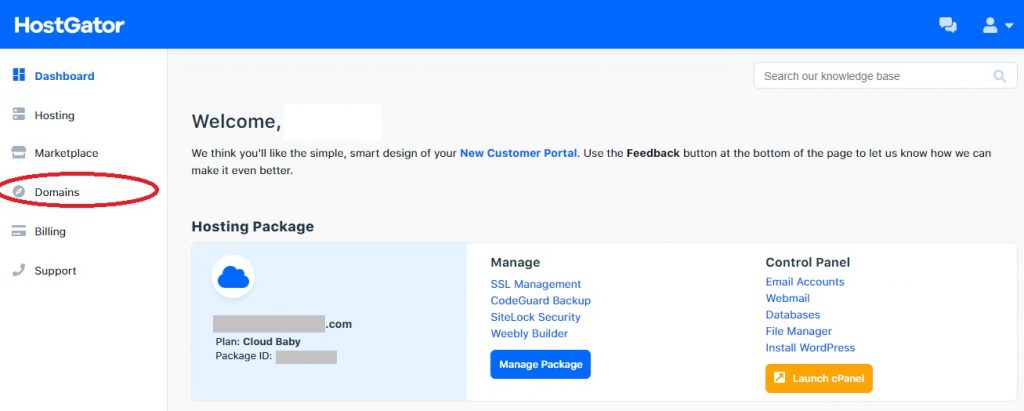
Once you login to HostGator Customer Portal Dashboard, click on the Domain tab, as I highlighted below the image.
Here you will see the HostGator Nameserver Information. Click on the “change” link under the Name Servers details continue changing Nameservers in HostGator.

On this page, you will see the two options. The first option is “Automatically point my domain to my hosting account,” and in the front, you can see the Tab where you can select your HostGator Hosting Account.
The second option is very important. If you purchase your hosting from another hosting provider like BlueHost or SiteGround, you must manually enter the nameserver details.
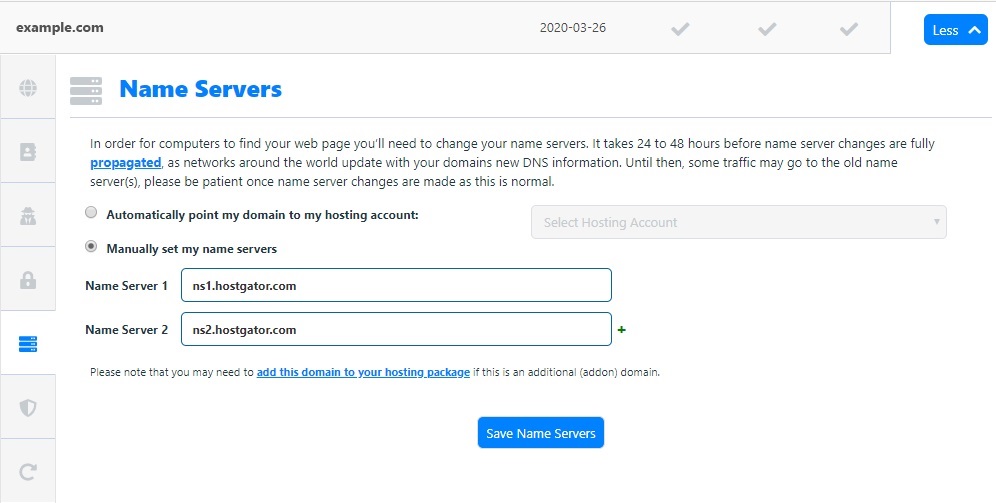
Log in to your web hosting provider and get your Name Servers and enter Name Server 1 and Name Server 2. Click on Save Name Servers button to complete Changing your Name Servers in HostGator.
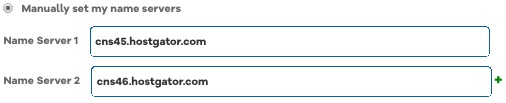
You have successfully changed your Nameserver in Hostgator and wait 48 hours for nameservers to propagate fully.